How to Rehydrate Bone Dry Clay Easily

What do you do with clay too hard to work with?
A Series of Clay Tips and Tricks from CAC Instructors to You
Have an old bag of clay? Haven’t thrown it out yet? Wondering how to reclaim clay?
Below, Jeanne Carreau, a CAC instructor, goes over step-by-step with photos how to save that bag of clay you were about to toss. We will be posting a series of these tips and procedures from our instructors, so stay tuned!
Hi Everyone,
As promised, here are pictures and instructions for how you can take a 25lb bag of clay from rock-hard, bone-dry to wedged and ready to use in 3 days—my bag was 20 years old—with very little effort or muscle power required! If your clay is hard but not yet bone dry, follow the same process with less water and a shorter time span.
You need:
-a bag of clay
-a bucket large enough to hold the bag
-wire tool
-chopstick or long brush handle
-a surface to wedge on (proper wedging table, clean concrete, dry wall, unfinished wood, or sheet of plastic topped with several layers of old sheet folded and taped down)*
Procedure
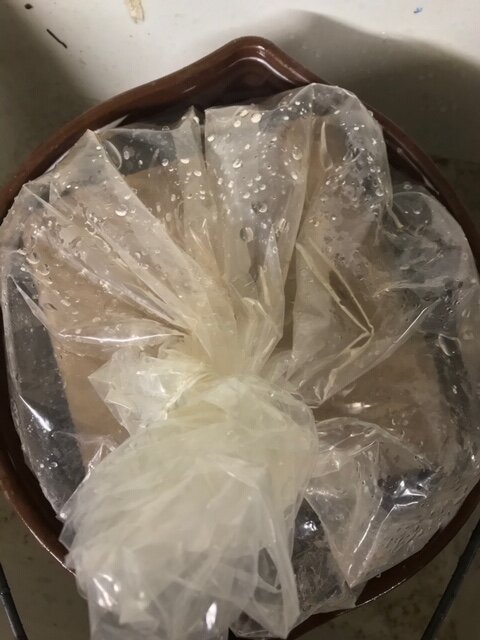
Put bag of clay in bucket
Open bag of clay and add water to surround clay and just cover top surface
Seal bag of clay with twist tie or rubber band
Add water into bucket around sealed clay bag; no need to submerge top of bag
Leave alone approx 12 hrs
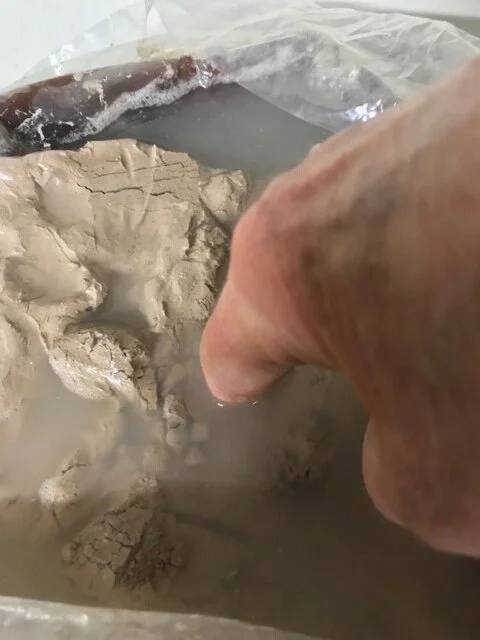
After 12 hrs, open top of bag and push a chopstick or brush handle as far down as you can in clay to make holes about 1" apart; don't force it, just insert as far as possible; re-close bag of clay with twist tie
After another 12 hrs, repeat this, with holes going deeper this time (don't force it, just put in as far as you can)
After another 12 hrs, repeat again, with holes going even deeper this time
After another 12 hrs, repeat again, with holes going yet again deeper
After another 12 hrs, repeat one last time
After 12 more hrs (72 hrs total), remove bag from bucket, open bag and pour off visible water; empty water from bucket and set aside
Put the clay from bag onto your wedging surface (see above) and cut into chunks with cutting wire
If the chunks are even in consistency, go ahead and wedge up
If there are really wet chunks and still firm chunks, slice the firm ones up and push finger holes in them; put wet chunks in the finger holes; layer on firmer pieces and repeat, then cover with plastic and leave for a couple of hours
Wedge up
Return the wedged up chunks to your plastic bag and reseal, now waiting to be used!
Voila, Clay!
-Jeanne
Below are Jeanne’s photos of the process with her notes:


Rehydrating clay is a great way to bring life back to old resources. You don’t have to worry about overly dried clay anymore. Once you try this, you will understand the process and can adjust this method to clay at various dryness levels. We hope you will try this method next time you find “unworkable“ clay. You now know how to reclaim it and can extend your resources!