Tips & Techniques: Inventive Tools and Tool Storage
Clay Art Center staff share some of their favorite tools for clay and how to store them.
The tools used in making ceramics vary as widely as the ceramics themselves. Every artist has a favorite implement, the thing that feels like an extension of their hand as they work to shape the clay, and many of those favorites did not begin their lives as clay tools. From old dental instruments to fence wires to saran wrap, ceramics tools come in all shapes and sizes. Just as important as the implements we use to make our work is how we keep them: good tool storage can help keep things organizes, accessible, and rust-free. Read on to learn more about some of the favorite tools and tool storage methods of staff members at Clay Art Center.
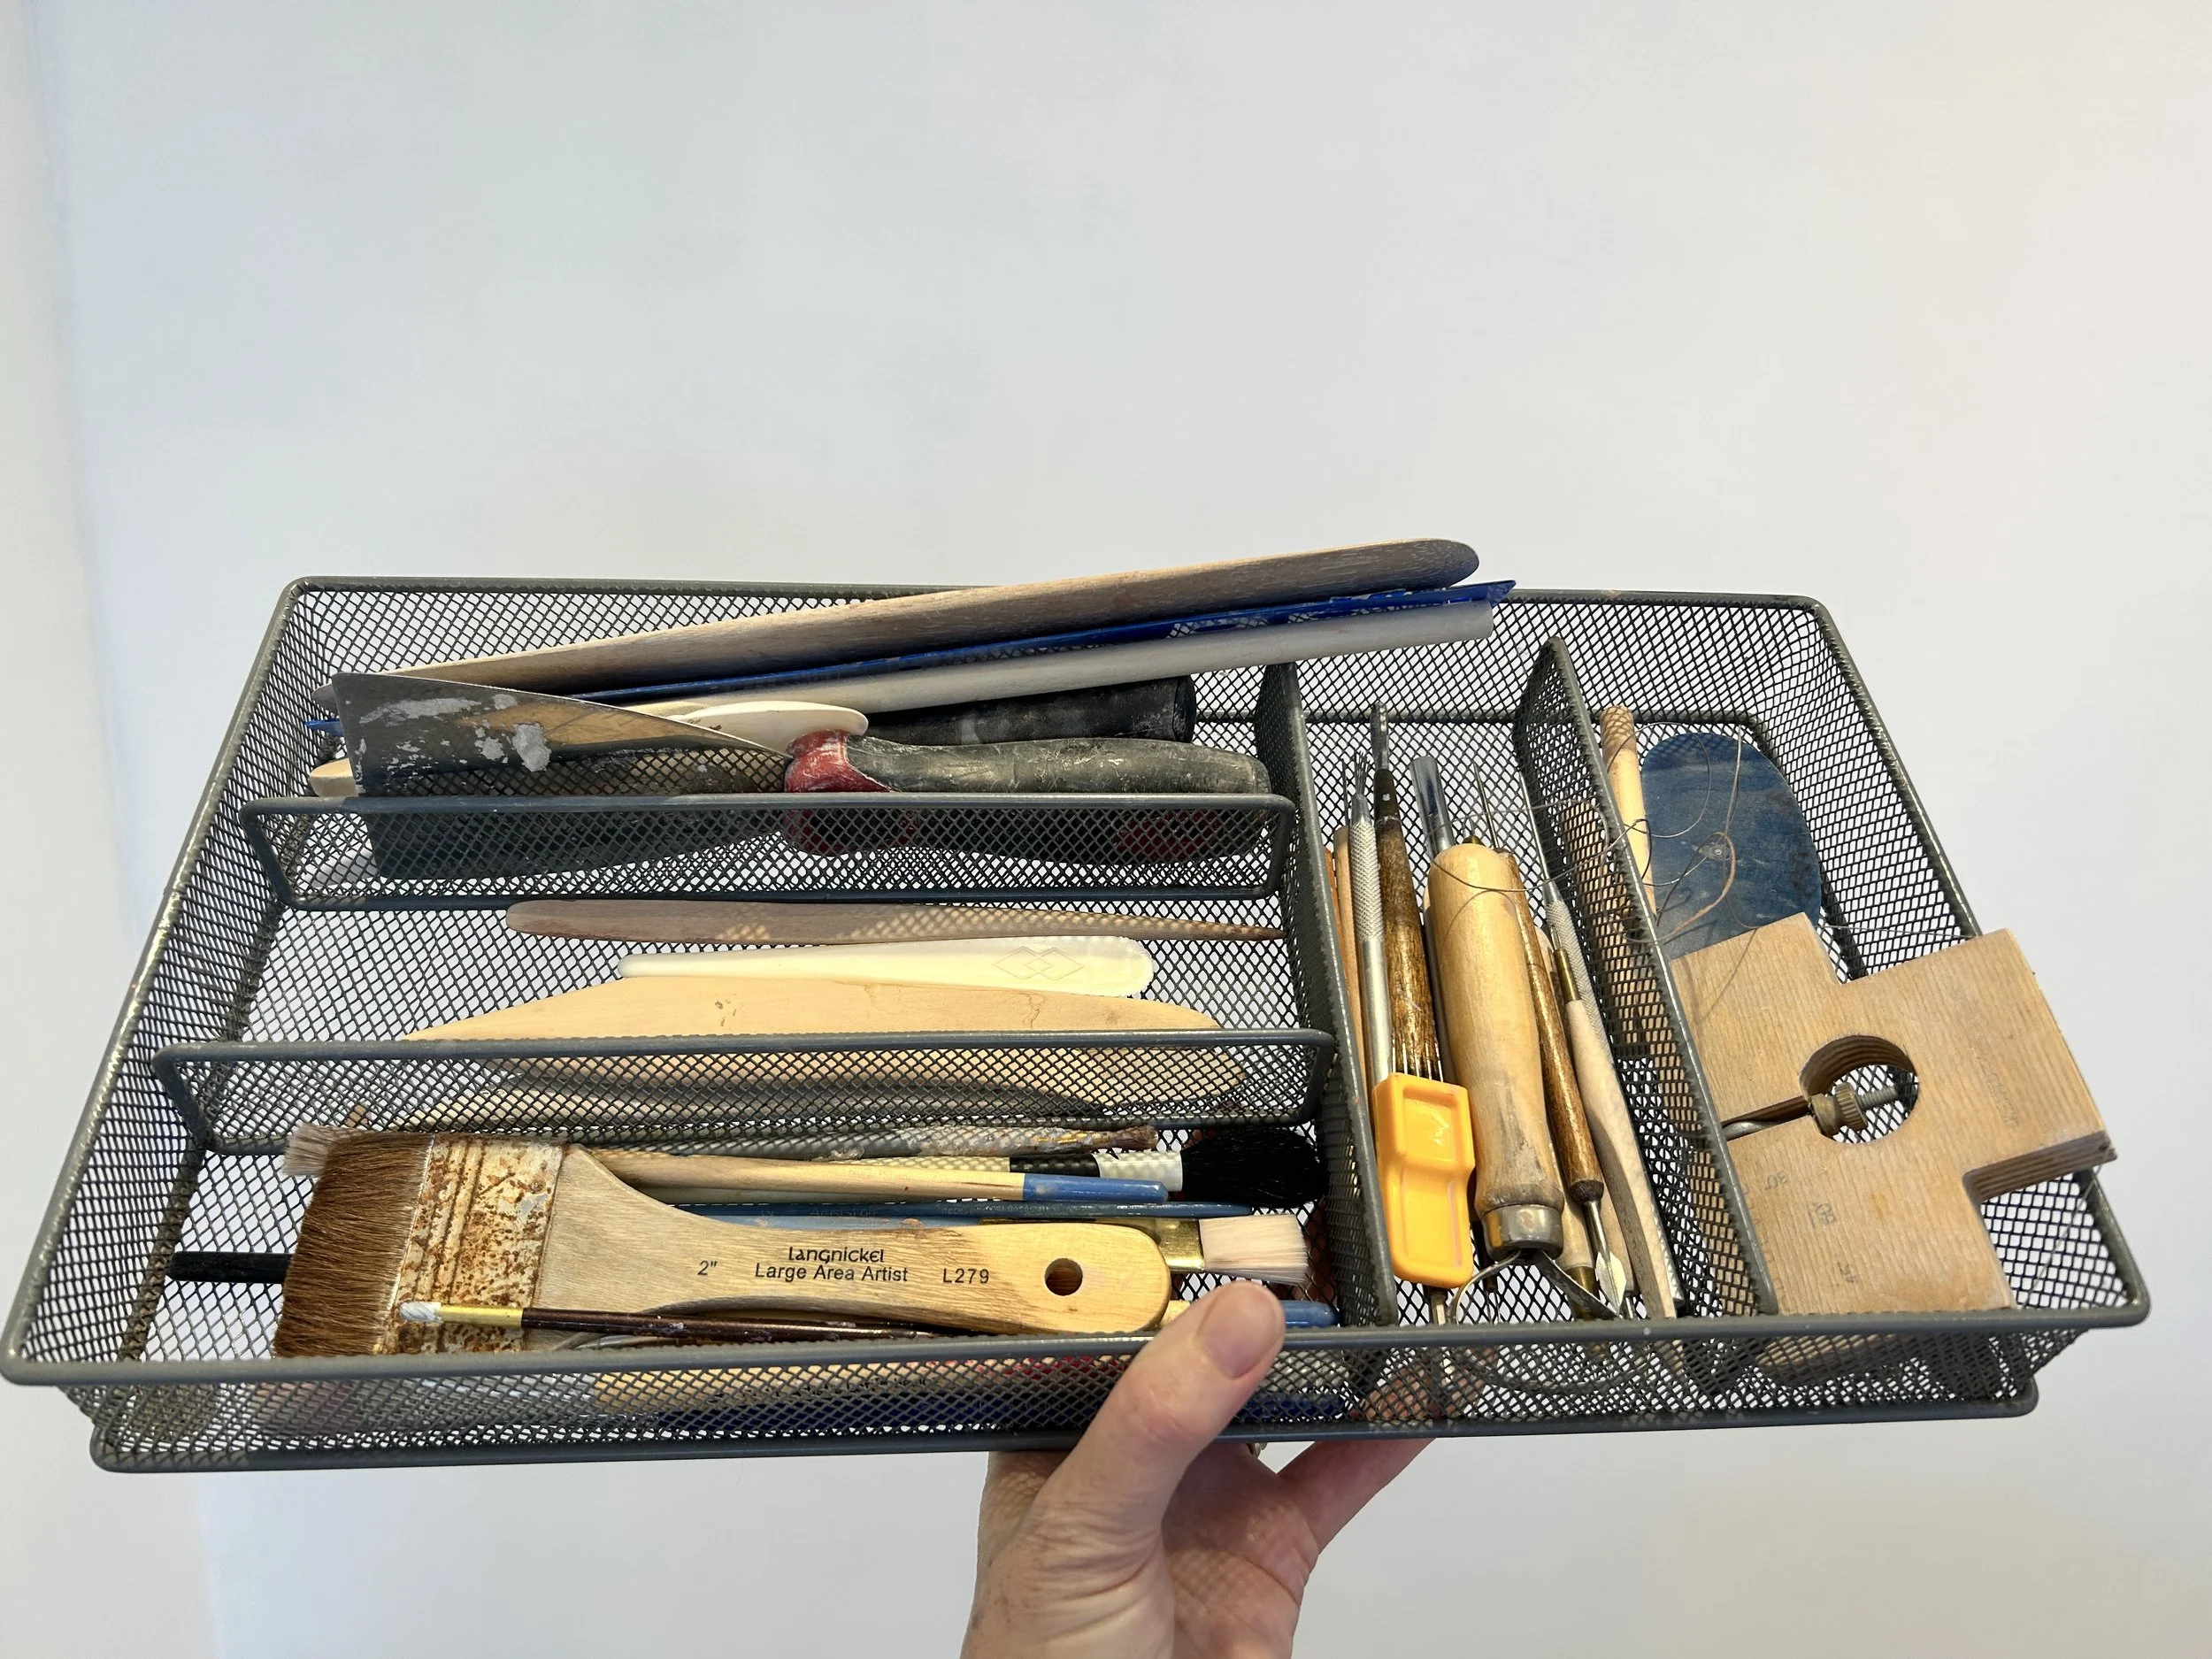
Regina Farrell-Fagan, Exhibitions and Marketing Director: “I use a metal cutlery drawer organizer for my tools. It is a mesh type of drawer, which means all the crumbs and dust on my tools will fall through the surface, rather than clog up the container. Since it has an open-net construction, it also doesn't hold water and the tools dry quickly. It's also great to have sitting on the table next to me when I work, and I use the compartments to store different types of tool groups. Taking it to and from the studio is easy - it sits flat on the floor of the car if I am taking it somewhere.
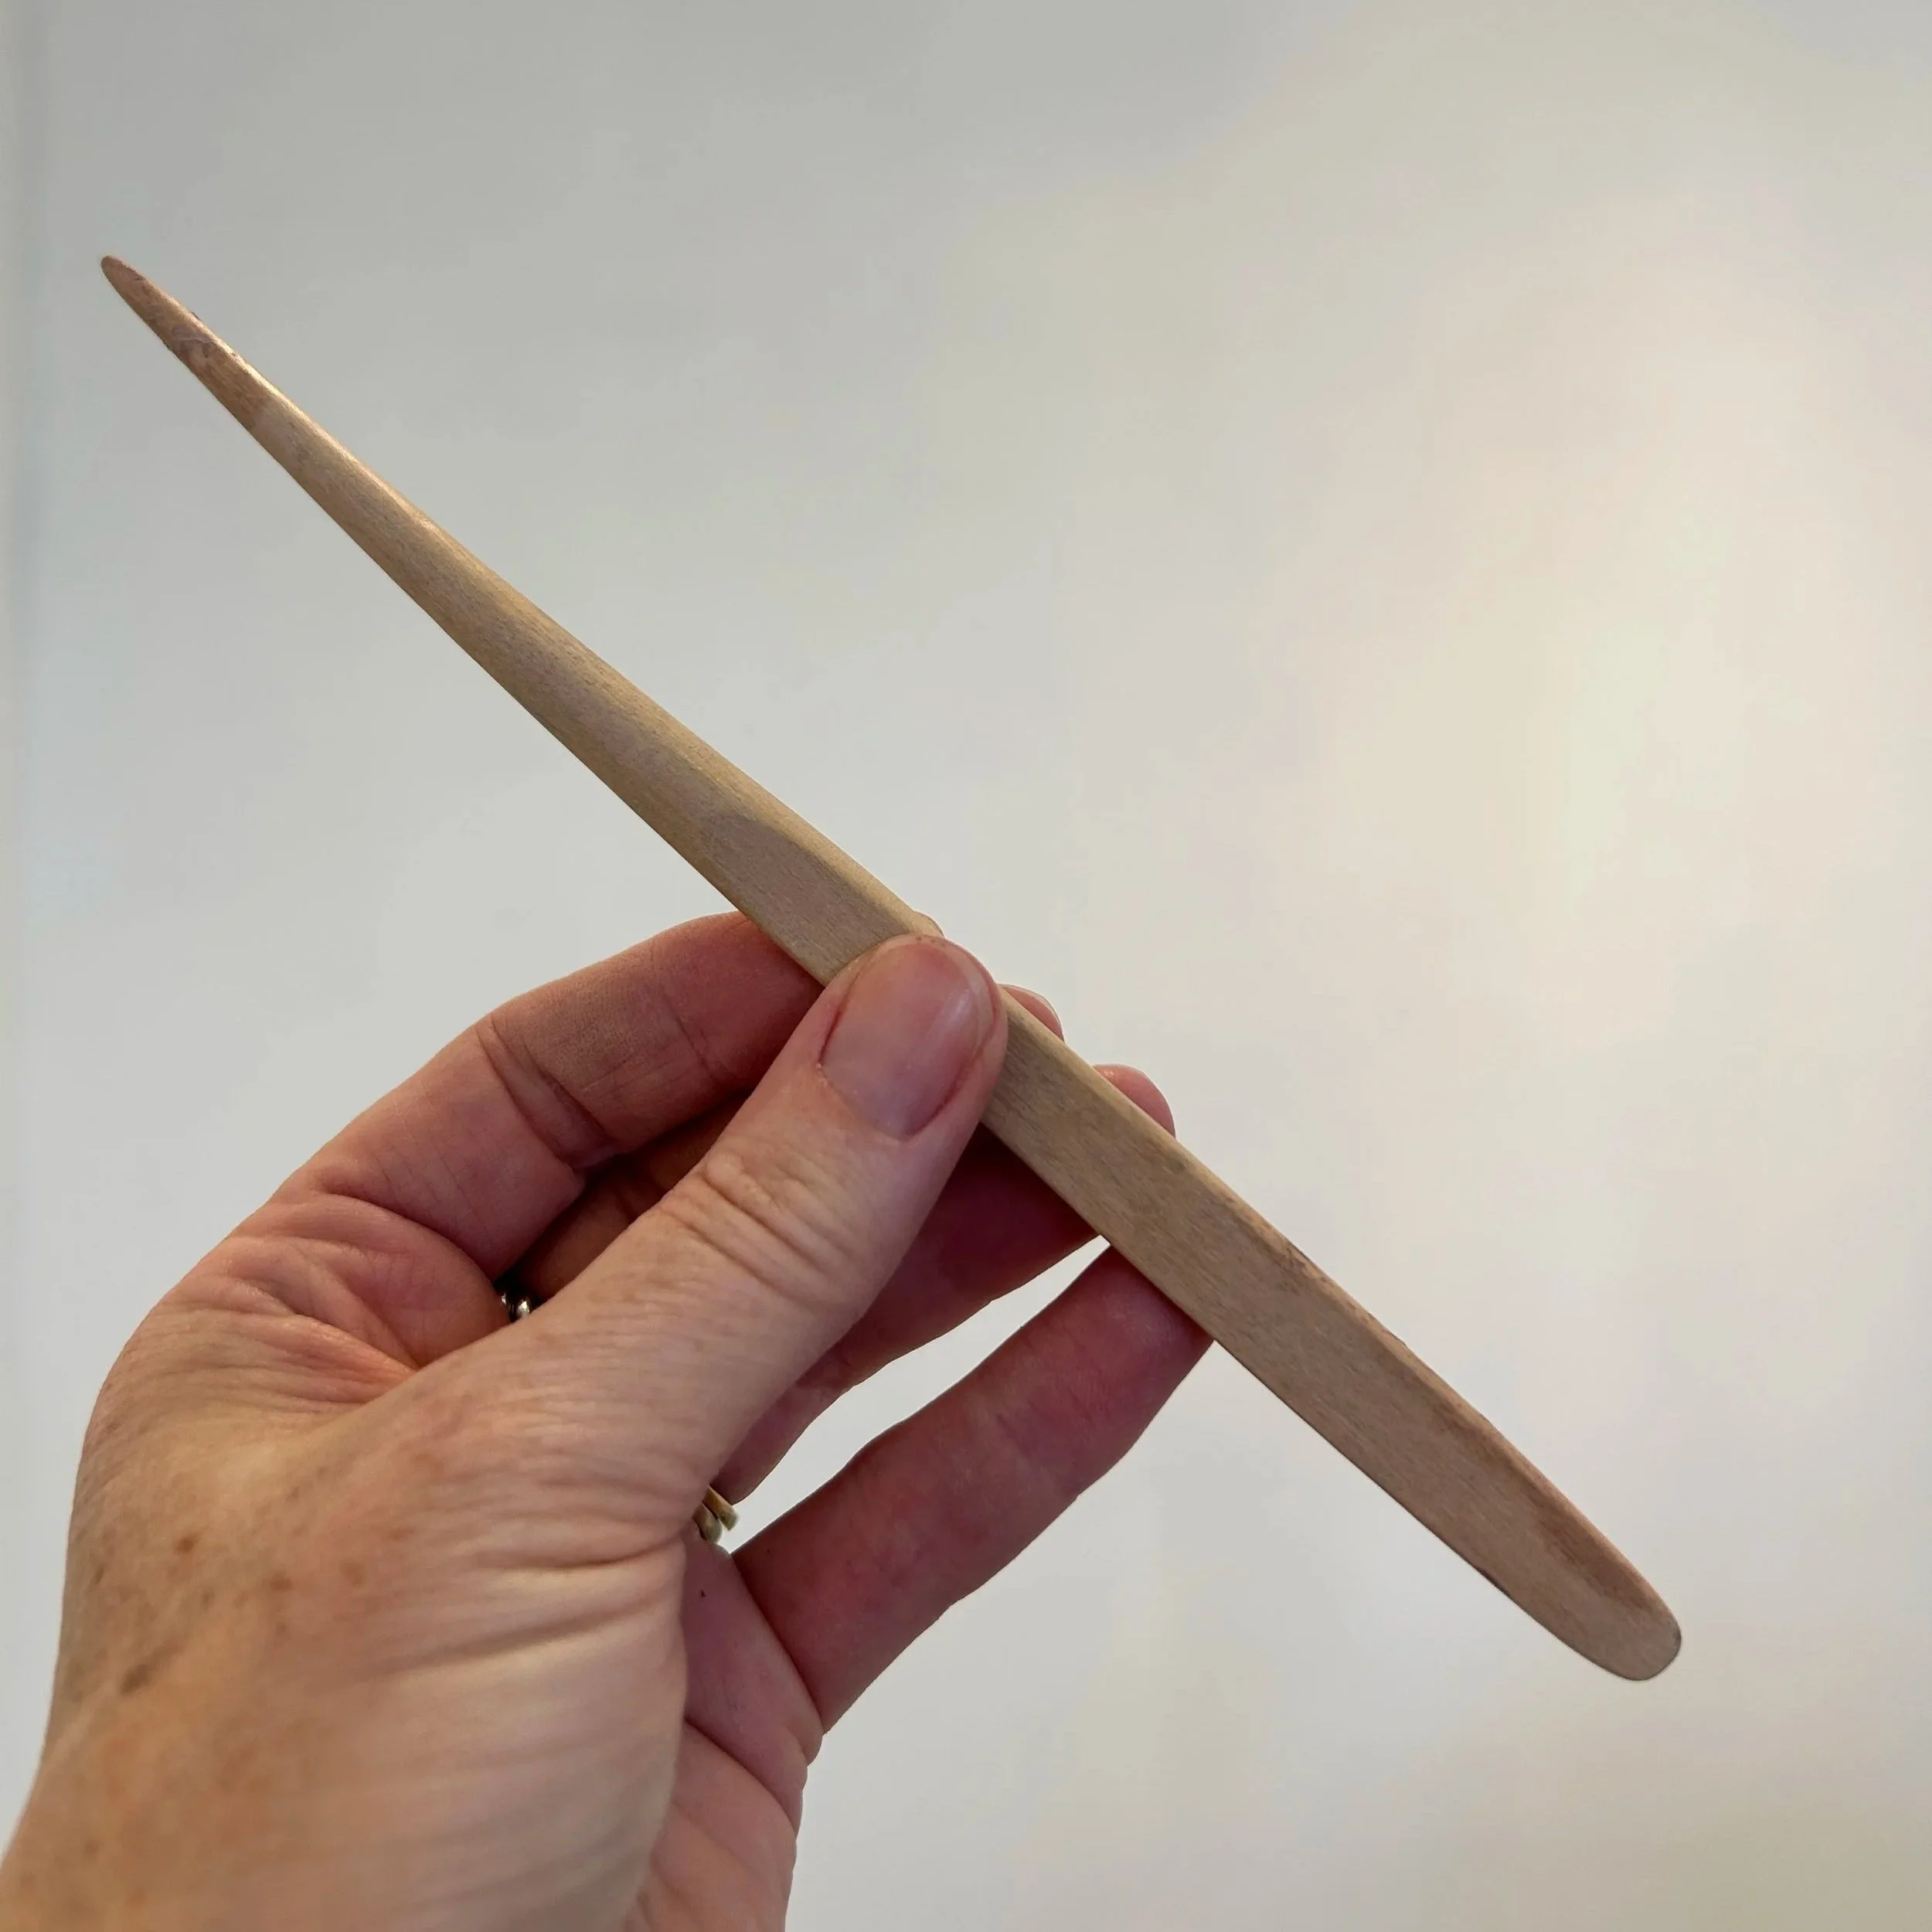
“My absolute favorite tool is a wooden tool with two different ends - one tapers to a point, and the other flattens out to a rounded tip. I use it for so, so many things. I've had it for so long I can't even remember where I got it or what it's supposed to be used for!”
Sarah Harlan, Studio Technician: “My favorite tools is actually a serrated steak knife. When I’m sculpting solids, it helps me cut down bulky areas without worrying about breaking a fettling knife. The serrated edge of the knife also creates almost a cross-hatching effect, and this gives me an idea of the shadows and how they’re going to fall on the piece.”
August Brosnahan, Studio Manager: “If you have access to wall storage, then you can super glue cheap magnets onto your tools and then you can stick them onto a magnetic knife strip that you’ve hung up on the wall. This way, you can always see your tools and they dry much better.”
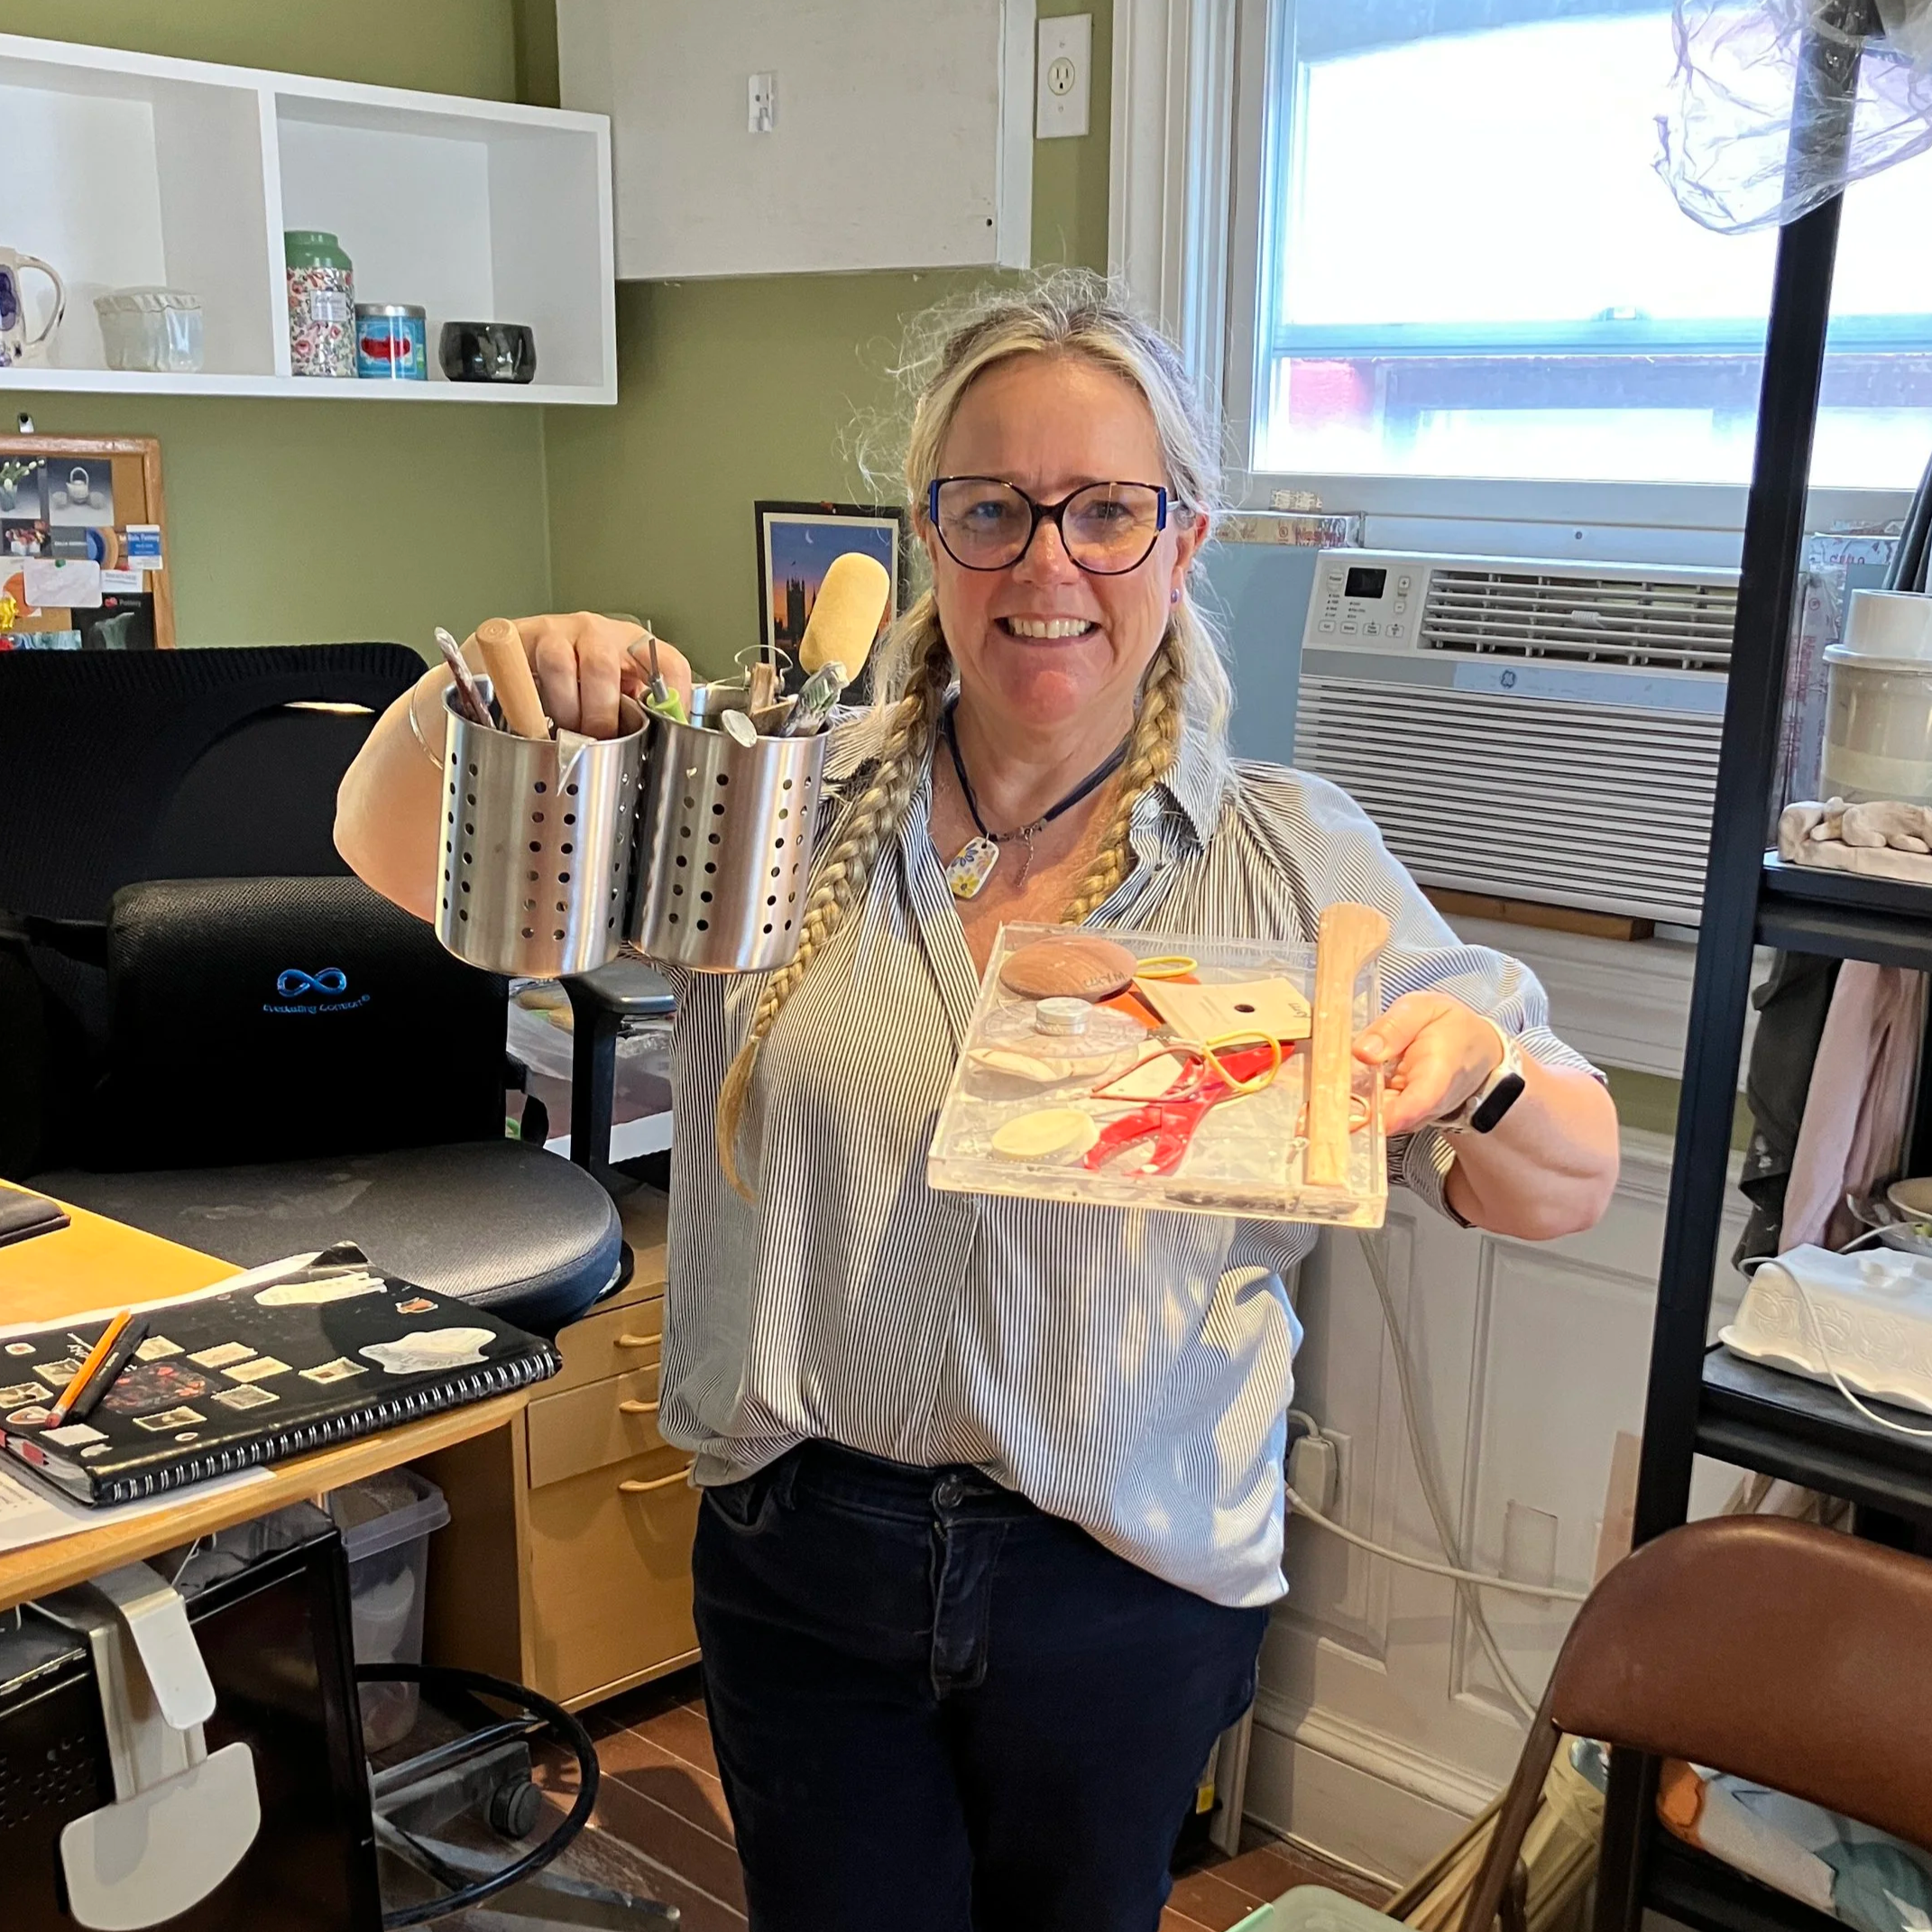
Lucy McGrath, Program Manager: “I store my tools sorted in metal containers with holes on the sides. I have a larger carrying case that holds the metal containers, so I can grab the containers with the tools I need and add them my container before heading to the studio. That way I don’t need to bring every tool with me every time. I also use the plastic Ferrero Rocher trays to keep the tools I’m currently using spread out but contained, and they dry really well in them. Plus, recycling!”
Brian Barry, Community Arts & Offsite Programs Manager: “For storage, I like a bag with lots of pockets that create individualized storage. I love making a tool out of something that isn’t intended for ceramics. Some of my favorites include:
Plastic straws of all sizes for hole-punching (including boba straws).
Q-tips are like tiny sponges, and I use them for cleaning up glaze or underglaze from delicate areas, fine lines, etc.
Metallic gold Sharpie works as wax resist for glazing and underglazing on bisque pieces, just draw the lines wherever you don’t want glaze to stick.
I use a metal straw as a throwing stick - the little elbow of the straw makes the perfect angle.
Paper can be used for so many different things! Print out the shape you’d like to carve and use it as a guide, layer paper shapes as an alternative to wax resist, make patterns, etc. Simple, cheap paper can do so many things, and I use it all the time.”